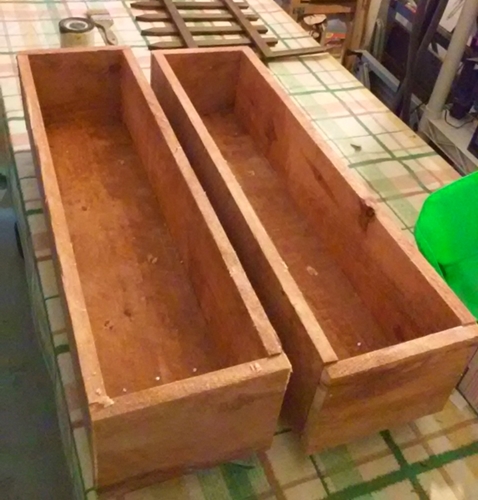
This Idea may save you money and embellish your garden. It also gives you the opportunity to open a conversation with friends along with a chance to show your skills.
From the planks used for fences that you could buy at any hardware store, you could make some beautiful wooden planters.
You will need:
- 3 planks (approx. $2 each)
- Nails (screws if wanted) and a hammer
You may want to paint the wood with Teak Oil for more durability, but it is not necessary.
How to:
Cut 2 planks into pieces of 2 ft. (they are 6 ft long, so you will get 3 pieces each, which will form the bottom and long sides of each of the two planters we are making)
From the 3rd plank, cut the 4 short sides. The right measurement is one time the width of the plank plus 2 times the thickness of the plank (see the picture to get this idea)
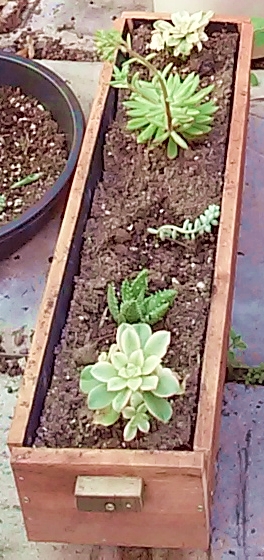
Nail all the pieces together. You may want to add handles to move the planters around (use screws to fix them) and legs to avoid direct contact with the ground (as legs, I used two transversal 2×2 pieces screwed from top to bottom).
With a drill, open holes at the bottom for drainage. Remember that many of the fence planks come with the corners cut in one extreme to indicate the top; use the 2 ft piece that has these cuts for the bottom of the planter; that way you already have 2 holes. (To avoid the dirt going out through these holes while you are filling the planter, extend over them a kitchen napkin and put the dirt on top.)
If you are using the teak oil, let it dry out for one day or as needed before using the planter.









Leave a Reply